How to Effectively Open Your Pool for the Swimming Season
Posted: April 27, 2022Warmer weather is finally approaching, and it’s time for pool owners to start thinking about opening up their pools for the season. You might think you’ve got plenty of time, but summer will be here before you know it.
Planning ahead means getting the most out of your swimming season, and it also means avoiding any headaches that an improper opening might cause.
In order to help you get the job done right, we’ve created this quick and easy guide to everything homeowners need to know about opening their pool.
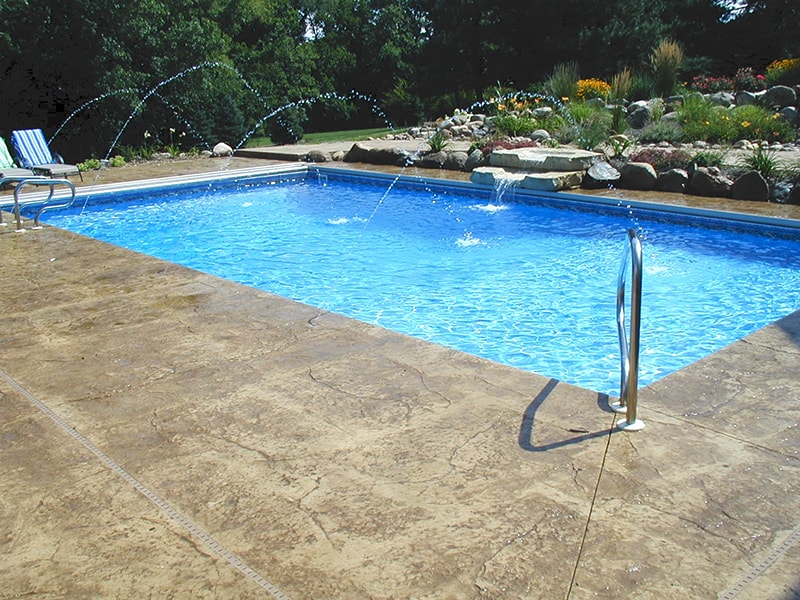
Step 1: Prep the Pool Area
First things first: Get your pool area cleared out, cleaned up, and ready to enjoy. Unless you’ve been landscaping all winter, you’re likely to have some overgrown plant life that needs to be tended, and possibly some leaves and other debris to sweep away.
Once you’ve got that done, you can bring out all your deck furniture and pool equipment to clean it off and make sure it’s still in working order.
Step 2: Make Sure You’ve Got All Your Supplies

Having all the chemicals required for a proper pool opening is crucial if you’re planning on hosting any swimmers this season. You don’t want to realize on opening day that you’re missing something, so be sure that you’ve got everything on the following list beforehand.
- Sanitizer (typically chlorine or bromine tablets, liquid chlorine or salt)
- Pool shock
- Metal control product
- Test strips or test kit
- Algaecide
- Clarifier
- Alkalinity, calcium, and pH balancers
Most homeowners with pools likely already have a number of these handy from previous seasons, but it’s important to check the expirations on all of them before crossing them off your list.
Step 3: Remove the Cover
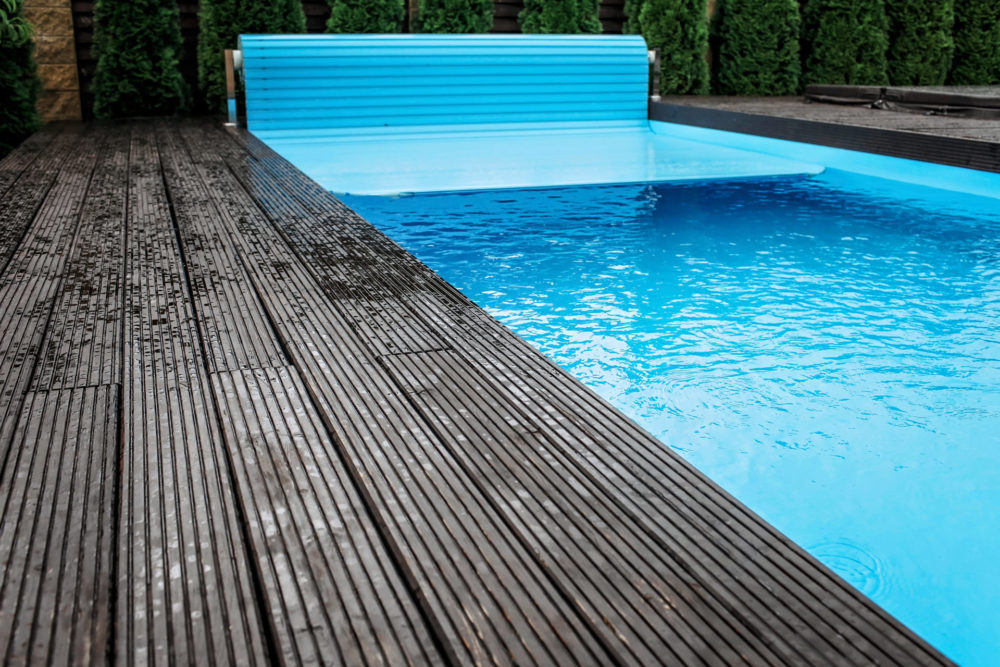
Don’t get overly excited and just yank off your pool cover. Before you start tugging, pump any collected water off its top and clear off all the leaves and debris that have accumulated during the off-season.
Once you’ve done that, you can pull the cover off, hose it down, and wash it off with a pool cover cleaner before letting it dry. Now it’s ready to store for the summer.
Step 4: Inspect and De-Winterize
Now that your pool is finally uncovered, it’s time to make sure it didn’t experience any damage over the winter. Inspect the return lines, the filter, the pump, the interior, and anywhere else that may need repair before the pool goes into use.
While you’re doing this, you can remove the winterizing plugs and drain plugs and replace them with directional flow fittings, hook up all hoses and pipes, reattach your lights, and install your baskets.
Step 5: Fill the Pool
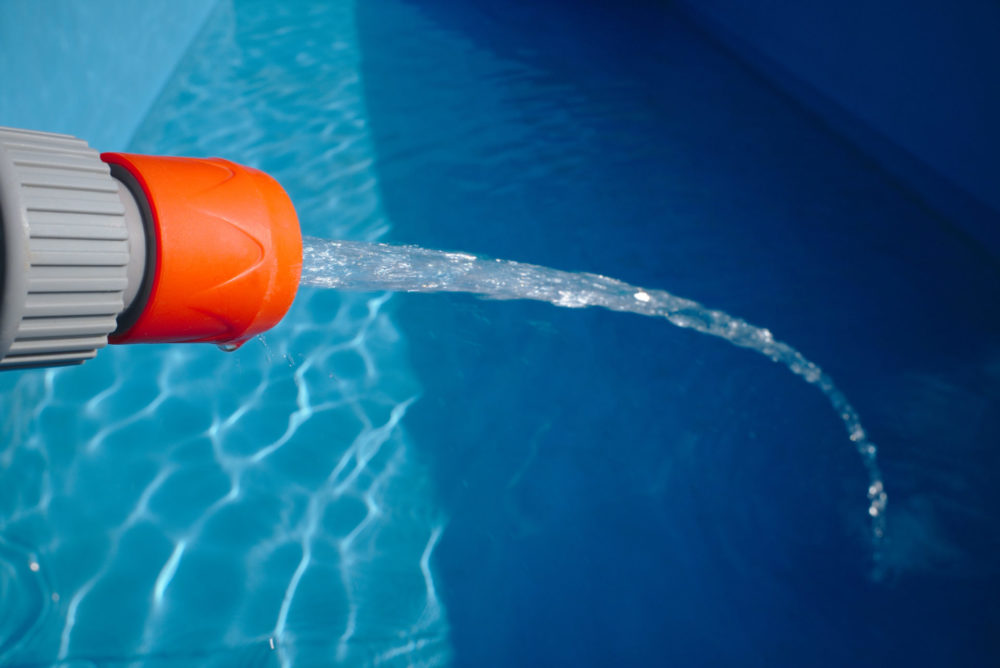
If you closed your pool properly last season, there likely won’t be enough water in it for the filter to work. Grab a hose and refill it up to the midway point of your skimmers. While the pool is filling, you can add a metal control product to help protect your pool from metals and minerals such as iron and calcium. With the water filled up, you can then get to brushing and vacuuming your pool.
Step 6: Run Your Filter and Test Your Water
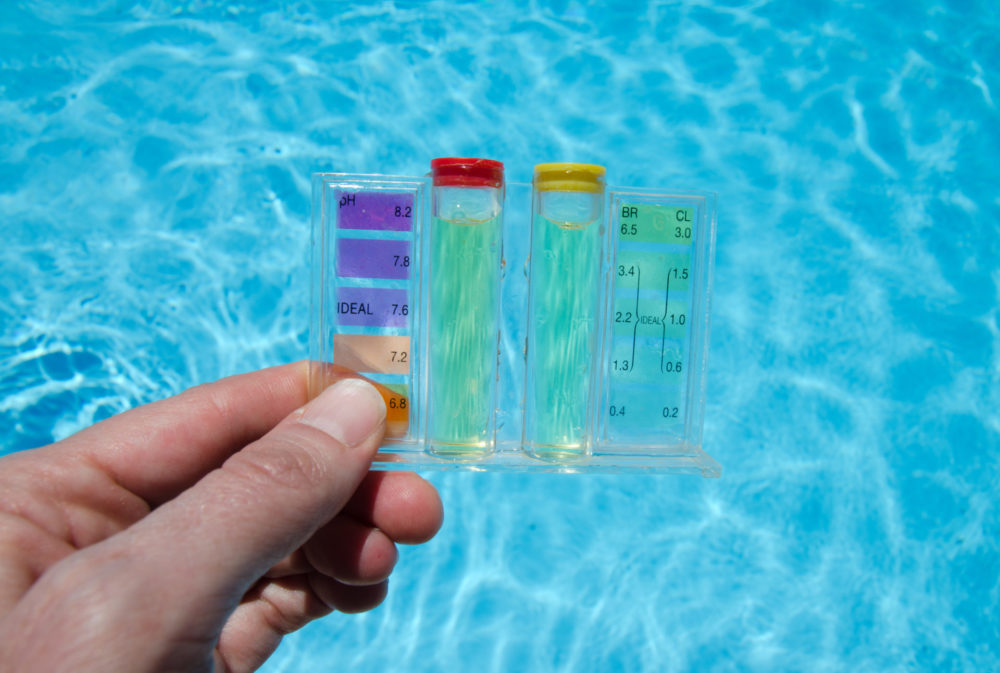
It’s time for your filter to shake the rust off and get back in action. Run it continuously for the next 24 hours, and then grab a test strip or your test kit and see if you need to balance out those pH and alkalinity levels.
Your first step with getting a good pH balance is to balance the total alkalinity, meaning you’ll have to add or take away alkalinity depending on what your test tells you. Next, you’ll want to balance out your overall pH, depending on what the test strips suggest.
After that, you’ll get your calcium hardness balanced if you live in an area with hard water. Finally, you’ll want to shock and treat the pool with algaecide.
Once the pH levels are balanced, your pool is ready to host some swimmers.
If you have any trouble getting your chemical or pH levels just right, you can always bring a water sample into WCI Pool & Spas. We’ll be happy to give you some pointers.